
Darwin pkgsrc windowmaker
Darwin 8.0.1 Release Notes
April 29, 2005
===============================================
The Darwin 8.0.1 Installation CD is based on the Darwin source
release which corresponds to Mac OS X 10.4 (Darwin is the core
of Mac OS X).
Please visit <http://developer.apple.com/darwin/> for more
information about Darwin, and <http://www.apple.com/macosx/>
for more information about Mac OS X.
Table Of Contents
=================
1. Supported Hardware
2. Installation Instructions
a. PowerPC-based Macintosh computers
b. x86-based personal computers
3. Major Changes Since Darwin 7.0.1
4. Known Issues
5. Obtaining the Source Code
6. Additional Information
7. Licensing Information
Supported Hardware
==================
Darwin 8.0.1 should install and boot on all PowerPC-based Macintosh
computers supported by Mac OS X 10.4.
Additionally, Darwin 8.0.1 supports many x86-based personal computers.
See <http://www.opendarwin.org/hardware/> for a community-maintained
site that lists hardware that has been found to work.
Installation Instructions
=========================
Note:
When preparing your system to install Darwin, it is a good idea
to disconnect all hard drives other than the target disk. This
is to prevent the accidental destruction of data on the wrong disk.
Important:
It is recommended that you install Darwin onto a partition that
is at least 3.0GB in size.
0) Retrieve this CD image from one of the following URL:
http://sourceforge.net/projects/darwin-bsd
1) The disk images are gzipped. Use ‘gunzip’ or double-click the icon in the
Finder to extract the image.
2) Burn the CD image to CD.
After downloading the CD image, you’ll need to write that image
to a CDROM. The installation image is a bootable HFS+ volume for PowerPC,
and a ISO-9660 El-Torito disk image for x86.
If you have an OS X system with a CD burner, you can burn the CD
image using Disk Copy. Select Image->Burn Image from the menu bar.
If you have a *BSD or Linux system with a CD burner, you can burn the
CD image using cdrecord. See the cdrecord man page for information.
Installation Instructions (x86-based personal computers)
=============================================================
3) Boot from the CD image
When booting off the CDROM, the first screen you’ll see is a
bootloader prompt. You should not need to enter any flags to the
bootloader, so either press enter to continue, or wait 10 seconds
and the boot process will continue automatically.
4) Select the disk to install onto.
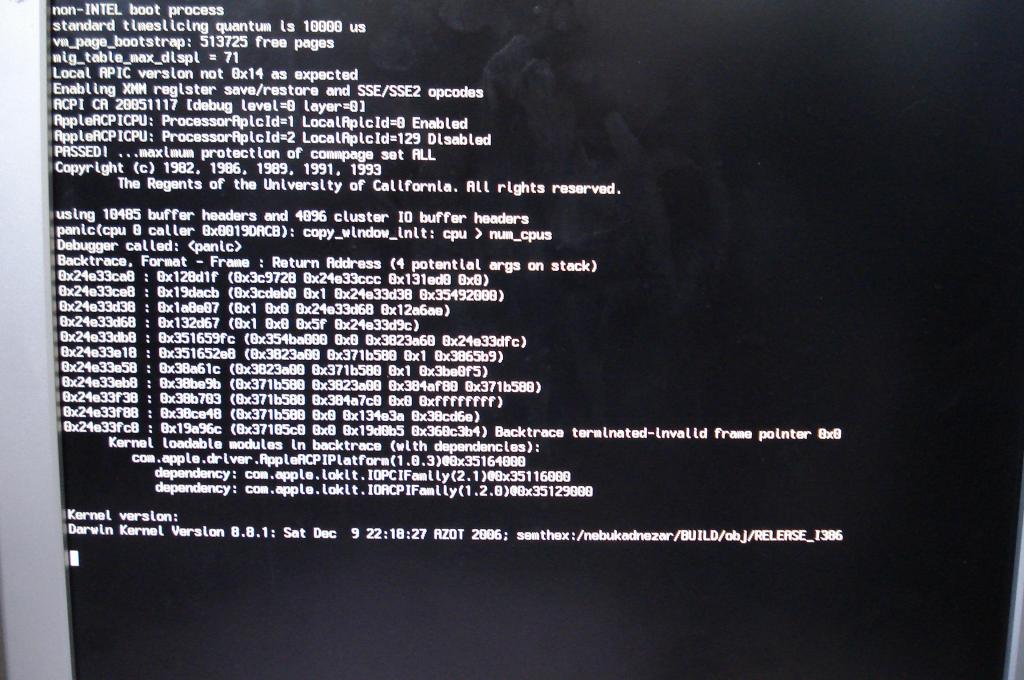
After the boot process continues, you will see diagnostic
output from the kernel, and you will end up at an installation
prompt. The installation prompt will list the devices it found
to potentially install Darwin/x86 onto:
The following devices are available for installation:
1. [ Vendor String ] @ /dev/disk0 (size)
2. [ Vendor String ] @ /dev/disk1 (size)
Which device would you like to install Darwin onto?
Enter the number (on the far left) of the device you’d like
to install Darwin/x86 on.
At this point you can also enter the word “shell” to enter
an emergency shell. This should not be needed for normal
installation.
5) Select the partition to install onto.
After entering the disk you wish to install Darwin/x86 onto,
the install script will give you the following prompt:
1) Auto-partition the disk (Destroys all disk contents)
2) Manually partition the disk using fdisk
Choice:
If your disk is already partitioned, you will get a third option:
3) Use existing partitions
The first option (Auto-partition) will destroy the contents of
the disk and create a single Apple HFS+ (journaled) filesystem partition.
This is the preferred option.
The second option (Manually partition) will run the Darwin/x86
fdisk utility. Use this only if you know which partition scheme
you want. This option can also destroy all contents of the
selected disk. If you choose this option, you must create an
Apple HFS+ (journaled) partition of type 0xAF.
The third option will let you install Darwin/x86 onto an already
existing partition. Make sure you already have the partitions
from option 2 set up. The install script will ask you which
partition you would like to use for your root partition.
All contents of that partition will be destroyed.
6) Wait.
The installer will copy Darwin/x86 packages onto the destination partition.
7) Setup.
After installation, you will be prompted to enter a root password.
You will also be prompted to enter a name for the computer (for Bonjour).
8 ) Reboot.
When the install script is finished, it will give you the choice
of rebooting or spawning a shell. Unless you have post-install
things you wish to do, such as adding additional accounts, you
should reboot the system and remove the install CD from the CDROM drive.
8 ) Login.
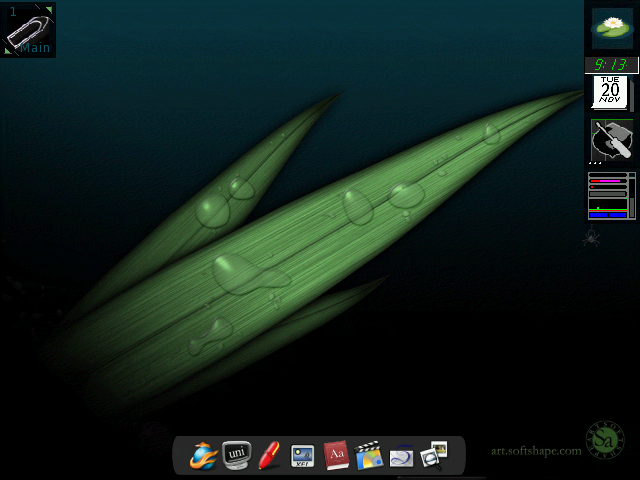
After reboot your machine should be running Darwin, log in and enjoy!
Intsalling pkgsrc on Darwin
Source distribution
You can download the pkgsrc tarball
ftp://ftp.netbsd.org/pub/pkgsrc/pkgsrc-2012Q3/pkgsrc.tar.gz
or checkout the latest sources using AnonCVS:
# cvs checkout -rpkgsrc-2012Q3 pkgsrc
(for using the AnonCVS service, see the Fetching by CVS section in the NetBSD Guide).
After downloading and/or extracting the sources, installing the bootstrap kit should be as simple as:
# cd pkgsrc/bootstrap
# ./bootstrap
This will use the defaults of /usr/pkg for the prefix and /var/db/pkg for the package database directory. However, these can also be set using command-line parameters (use ./bootstrap –help to see the available options).
Note that when using pkgsrc on a non-NetBSD system, use the bmake command instead of “make” to run the NetBSD make, which is required for correct pkgsrc operation. Simply substitute “bmake” for “make” in pkgsrc documentation.
i will try to post DAPM Server Darwin Apache PHP Mysql Server, as soon as i have it done, i will posted.